

Panel Lab · Level 9 of 10
Commission the pneumatic pusher station
Level 9 of 10 in the Panel Lab: a free panel wiring exercise at Advanced level. A 5/2 double-solenoid valve and a double-acting cylinder: wire the coils, hose the air circuit with its speed controls, read the reed switches, and keep the gate interlock hardwired.
Free · no download. Your work is saved on this device. Updated 18 Oct 2026.
The brief
- Work order
- WO-PS-901
- Job
- Commission the pneumatic pusher station
- Difficulty
- Advanced
- Type of work
- Commissioning
- Detail
- 27 wires, lockout, meter checks and a PLC program
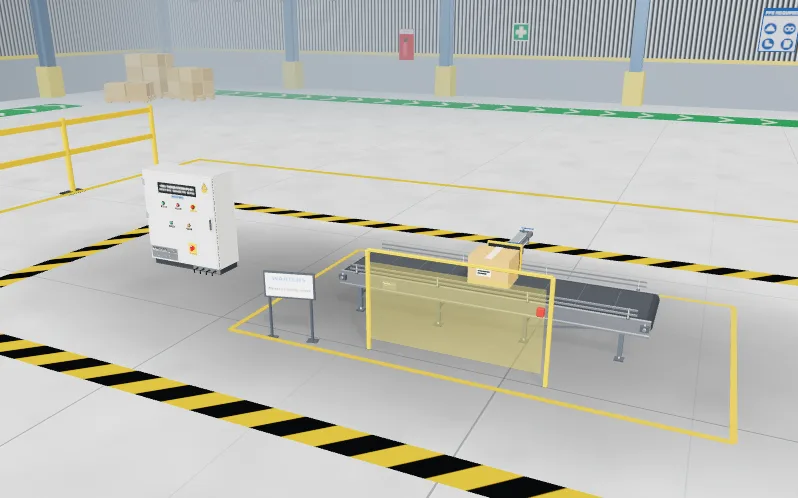
Vaigai Foods, Madurai. Carton diverter PU-901 pushes cartons off the line with a double-acting cylinder Z1, driven by a 5/2 double-solenoid valve V1: coil Y1 extends, coil Y2 retracts, and the valve keeps its position when both are off. Reed switches B1 (home) and B2 (extended) sit on the cylinder. A guard gate S3 and an E-STOP S2 protect the operator. The control panel +F901 has arrived with the 24 V supply and the PLC supply wired. The field wiring and the air circuit are yours.
What you do
- Lock out the panel at the main isolator Q1: switch OFF, apply your lock and your tag.
- Prove it dead with the meter, live-dead-live. Treat the air as a stored energy too: the cylinder can move when a coil is energised, so keep clear of it.
- Wire the 22 conductors of the wiring schedule. The extend coil Y1 is fed through the E-STOP and the gate contacts in series, hardwired, so that no program can extend the cylinder with the gate open. The retract coil Y2 is not, because retracting is the safe move.
- Hose the air circuit, P01 to P05. Fit the flow controls meter-out: the hose from the valve goes to the IN of the flow control and its OUT goes to the cylinder. A cylinder with no speed control slams into its end cap.
- Read the supplied PLC program. It starts a cycle from START with the cylinder home, extends until B2, dwells, retracts and ends at home. A move over 4 s is a fault.
- Restore power: tick the checklist, remove your tag and lock, switch Q1 ON, put the PLC in RUN.
- Test: force each coil, check the reed switches, time the strokes, run a cycle, open the gate during a stroke and press the E-STOP. Then run the FAT.
What the test checks
The factory acceptance test is marked against the panel you built. The level sets out:
- 27 conductors in the wiring schedule
- 6 dead checks before you touch the panel
In this lab
- Lock out and prove dead, live-dead-live
- Wire the backplate from the schematic
- Meter, tester, clamp and insulation tester
Levels in the Panel Lab
Previous: Commission the 4-20 mA level loopNext: Commission the packing cell (capstone)
- Commission the transfer-pump starter
- Fault-find the outfeed conveyor starter
- Commission the star-delta fan starter
- Commission the reversing conveyor starter
- Commission the overhead tank pump (Hand/Off/Auto)
- Commission the sorting station sensors
- Commission the variable-speed infeed conveyor drive
- Commission the 4-20 mA level loop
- Commission the pneumatic pusher station
- Commission the packing cell (capstone)
Part of the Panel Lab
Lock out, wire, test and fault-find a control panel, then prove it with a factory acceptance test.
Feeds these internships: Control Panel Design and Wiring, Commissioning and Maintenance, Instrumentation and Process Control.